Gardening

Approximately one year ago I switched my Aerogarden from the stock fluorescent bulbs to using LEDs and to using a three part nutrient regimen.

LED Bulb Update

The stock bulbs had to be replaced every 3-6 months for one of two reasons. One, the stock bulbs will dim with age, the Aerogarden flashes a reminder to replace the bulbs when it thinks they’re getting old. Two, the stock bulbs burn out within 3-6 months, thus I always kept extra bulbs on hand. The LEDs show no signs of dimming and none have burned out, making them a very worth while investment.

The only fear I had switching to LEDs was that they didn’t put out as much light, or that the light beam wasn’t as wide. I grow potted plants around the Aerogarden, utilizing the light spillage for less light hungry plants. To make up for the loss I added two full spectrum light strips to my grow shelf. In addition to the basil, I regrow kitchen scraps. Right now that includes a small amount of ginger, lettuce, and green onions.

Three Part Nutrient Update

I love using the three part nutrients. Every two weeks I pull out the relatively large bottles, 1 quart each, and use roughly 1 teaspoon from each. These nutrients should last me years, especially stored correctly. Quart by quart, the three part nutrients cost half as much as the premix. Besides the cost saving I tweak ratios depending on if these are fresh seeds, established plants, or if it’s time to force them to flower. While I’m still learning how to grow salad greens and veggies in the Aerogarden, I have had much better success with the three part nutrient system. The basil has a habit of overrunning the Aerogarden if I don’t attend to it regularly, it will prevent the slower growing plants from being able to establish themselves.
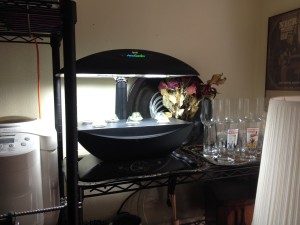
Aerogarden on a shelf

The Aerogarden fits nicely into a corner of a room.

The Aerogarden is Miracle Gro’s attempt at bringing hydroponics to the masses. Last year I picked up an Aerogarden 7, which is a mid range 7 pod, unit. Fresh out of the box it comes with the unit, two fluorescent bulbs, an herb kit, and nutrients.

It is easy to buy pod kits, plus you can buy pod refills that allow you to use your own seeds. I started using the refills and purchased my seeds separately. I started growing basil years ago, my basils are now 5th generation and it’s looking like 6th generation seeds will be produced soon.

Nutrients

By following the instructions and cleaning the water out every time one adds fresh nutrients, a stock kit will grow most herbs and maybe even some veg fine. Why? I may be wrong, but I have read that Miracle Gro nutrients tend to be a bit heavier in some than in others, which triggers imbalances. I had trouble growing veggies and cilantro, while the basil grew great.

A good two or three part nutrient system along with the tools to measure water quality and ph balance will maximize the Aerogarden’s potential. Since switching to a three part system I was able to start growing a mix of basils, kale, salad greens, and a small pepper plant. I have been using filtered tap water which is around 140ppm, the standard tap water reads around 180ppm, hard water. The lower the ppm the better.

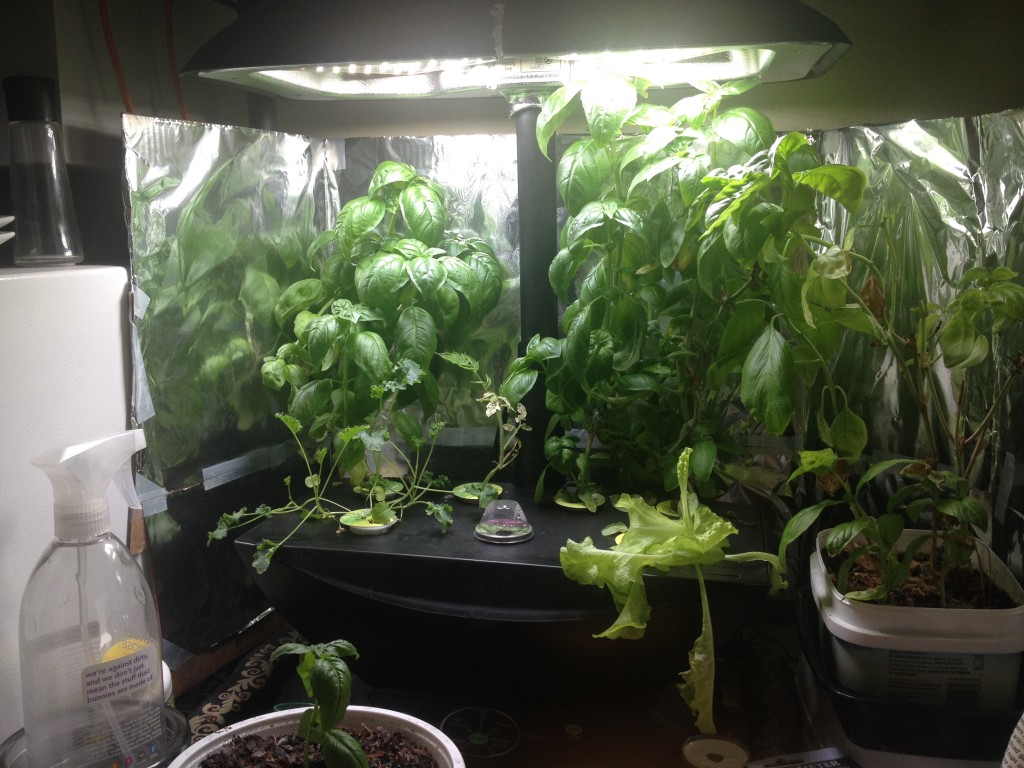
My Aerogarden 7 growing a mix of herbs and greens

My Aerogarden 7 growing a mix of herbs and greens, using a three part nutrient system and filtered water.


Bulbs

The Aerogarden 7 with the LED light upgrade.

The Aerogarden 7 with the LED light upgrade.

The stock bulbs will put out sufficient light, but they have a limited life span, roughly 3-6 months per bulb, and are fluorescent, using around 25 watts each. The bulbs put out enough light that I’ve even managed to grow plants in pots that sit around the Aerogarden. The major disadvantage is that the bulbs do put out a lot of heat and can burn leaves that grow too close. This can be worked around by installing LED lights from a 3rd party vendor. The LED lights use 10 watts each. The LED lights have been reported to put out slightly less lumens, but they are full spectrum and my garden is still growing well. I’ve only been running them for a couple months, but no issues so far.

Water Reservoir

The base, where the water goes, is a very simple aeroponics setup. It has a built in aerator similar to the air bubbles for fish tanks. Newer models use a different setup, but this works well. If the aerator in the Aerogarden has fail or if you feel that the aerator isn’t circulating the water well enough, it can be replaced or supplemented with one built for a fish tank. I check to make sure mine is clear each time I clean my reservoir out.

Control Circuit

The electronics themselves use a simple control circuit that controls at least three timers, one timer triggers the light relay, another timer triggers the aerator relay, finally there is a timer for the ‘Add Nutrients’ light. The circuit also integrates a simple low water sensor.  This entire circuit could be easily replaced with a raspberry pi or arduino for custom schedules. It’s something I’m considering doing in the future.